우리는 더 개인화되고 더 부드러운 경험을 제공하기 위해 쿠키를 사용합니다. 이 웹사이트를 방문하면 쿠키 사용에 동의하는 것 입니다. 쿠키를 허용하지 않거나 추가 정보가 필요한 경우 당사의 개인 정보 보호 정책을 방문하십시오.
필수 쿠키 이 쿠키는 웹사이트의 정상적인 작동에 필수적이며 비활성화할 수 없습니다.
분석 쿠키 이 쿠키는 방문자가 웹사이트를 어떻게 사용하는지 파악하는 데 도움이 됩니다.
마케팅 쿠키 이 쿠키는 방문자를 추적하고 관련 광고를 표시하는 데 사용됩니다.
소셜 미디어 쿠키 이 쿠키를 사용하면 소셜 미디어에서 페이지와 콘텐츠를 공유할 수 있습니다.
Q: If I use AC'97 front audio panel with, how do I connect to the High Definition Audio header on the motherboard and get front audio work?(2/17/2006) A: If you use AC'97 audio panel, please install it to the front panel audio header as below:
A. Connect Mic_IN (MIC) to MIC2_L.
B. Connect Audio_R (RIN) to OUT2_R and Audio_L (LIN) to OUT2_L.
C. Connect Ground (GND) to Ground (GND).
D. MIC_RET and OUT_RET are for HD audio panel only. You don't need to connect them for AC'97 audio panel.
E. Enter BIOS Setup Utility. Enter Advanced Settings, and then select Chipset Configuration. Set the Front Panel Control option from [Auto] to [Enabled]. For Windows® XP
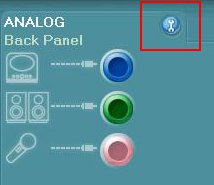
F. Enter Windows® system. Click the icon on the lower right hand taskbar to enter Realtek HD Audio Manager. Click "Audio I/O", select "Connector Settings", choose "Disable front panel jack detection", and save the change by clicking "OK". For Windows® Vista™
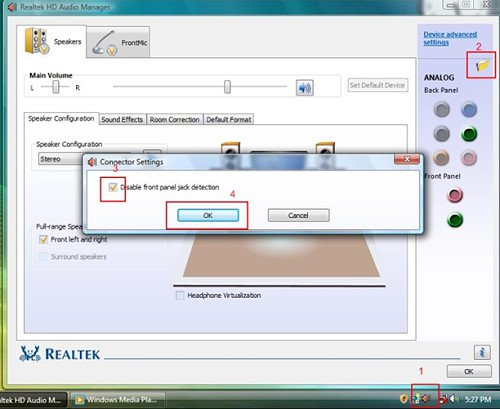
F. Enter Windows® system, 1: Double click the icon on the lower right hand taskbar to enter Realtek HD Audio Manager. 2: Click the "Folder" icon at the top-right corner. 3. Check "Disable front panel jack detection". 4. Click "OK".
(Please refer to the following picture)
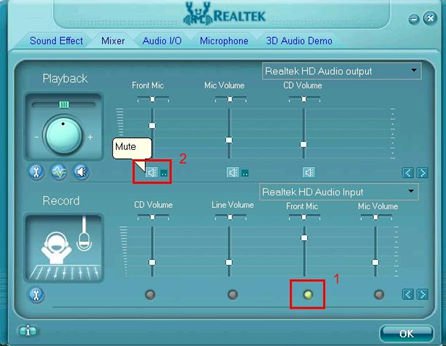
G. To activate the front mic: For Windows® XP:
Please select the Front Mic as default record device in No. 1.
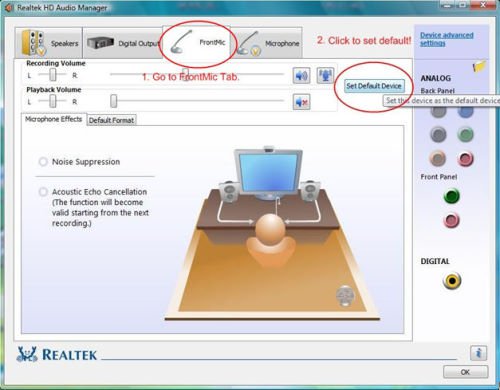
If you want to hear your voice through Front Mic, please deselect "Mute" in No. 2 For Windows® Vista™:
1.Go to the "FrontMic" Tab in the Realtek Control panel.
Click "Set Default Device" to make the Front Mic as the default record device.
 메뉴
메뉴