ASRock BIOS Upgrade Instruction
There are two methods to update the BIOS using Instant Flash.
Method 1:
- Save the BIOS files on a FAT32 formatted USB disk.
- Press [F2] during POST to get into BIOS setup menu.
- Select the Instant Flash utility under [Tool] menu to execute it.
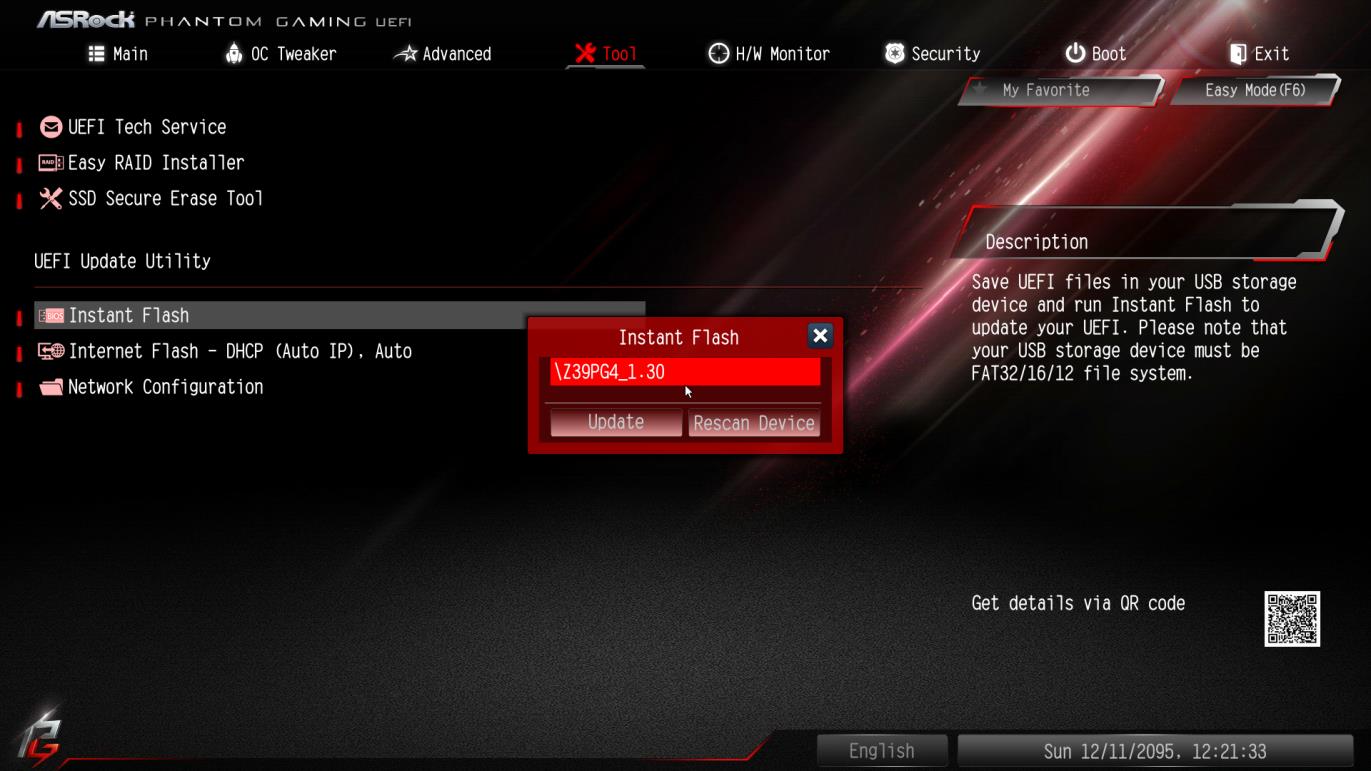
- ASRock Instant Flash will automatically detect all devices and only list those BIOS versions which are suitable for your motherboard.

- Select the suitable BIOS version and click “Yes” to flash the BIOS.
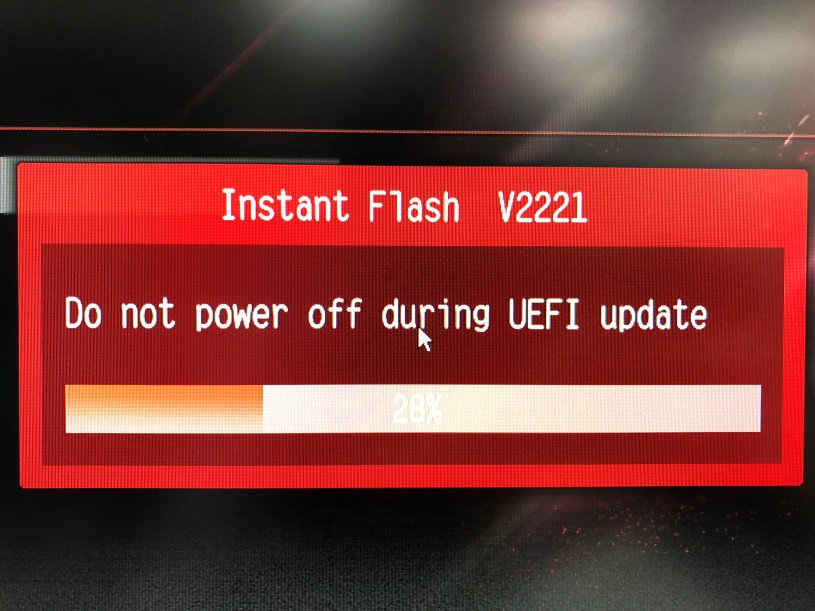
- The system will start to flash the BIOS.

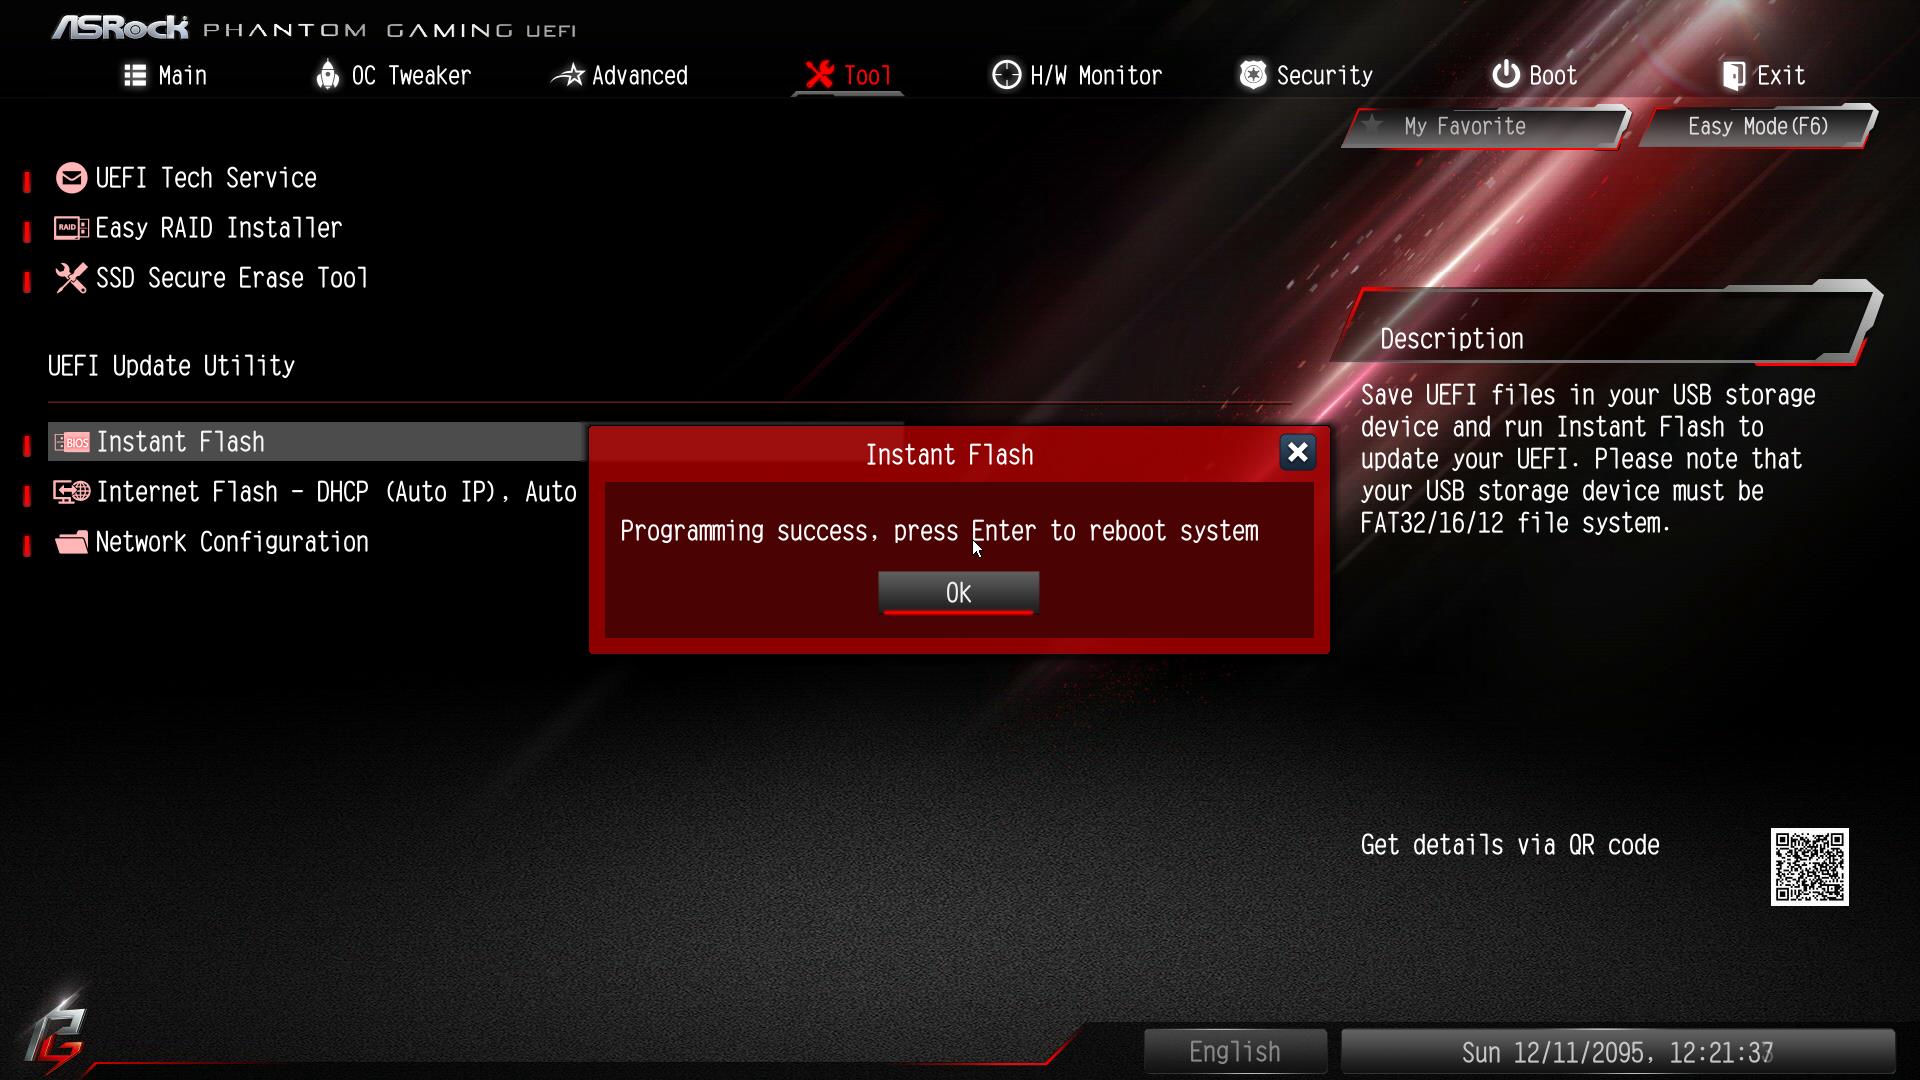
- Once the BIOS is flashed, it’ll show “Programing success, Press Enter to reboot system”. Please click “OK” to reboot the system.

- After the system restarts, press [F2] to enter the BIOS setup utility during boot up. In Exit menu, please select "Load Default Settings" and press [Enter] to continue. Select "Exit Saving Changes" and press [Enter] to exit the BIOS setup utility. Now, the system is booting up with new BIOS.
Method 2:
- Save the BIOS files on a FAT32 formatted USB disk.
- Press [F6] when you see this (or similar) page.

- Select the suitable BIOS version and flash.
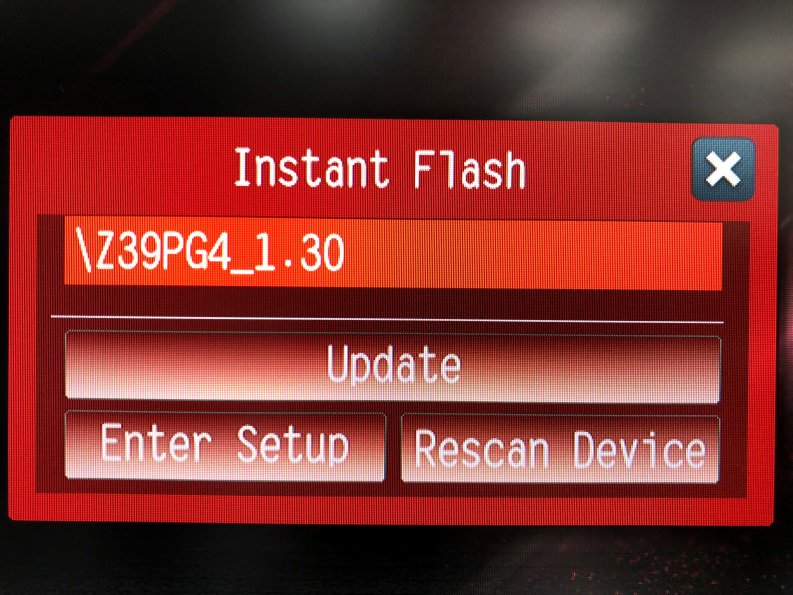
- Select the suitable BIOS version and click “Yes” to flash the BIOS.

- The system will start to flash the BIOS.
- Once the BIOS is flashed, it’ll show “Programing success, Press Enter to reboot system”. Please click “OK” to reboot the system.
- After the system restarts, press [F2] to enter the BIOS setup utility during boot up. In Exit menu, please select "Load Default Settings" and press [Enter] to continue. Select "Exit Saving Changes" and press [Enter] to exit the BIOS setup utility. Now, the system is booting up with new BIOS.
Notice
